Good Flexibility Test

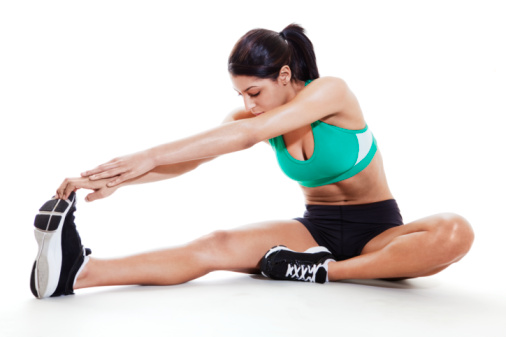
women performing flexibility testGood test to assess your flexibility in each area of your body.

Shoulder Flexibility Test

Here's an exercise to test your shoulder flexibility.

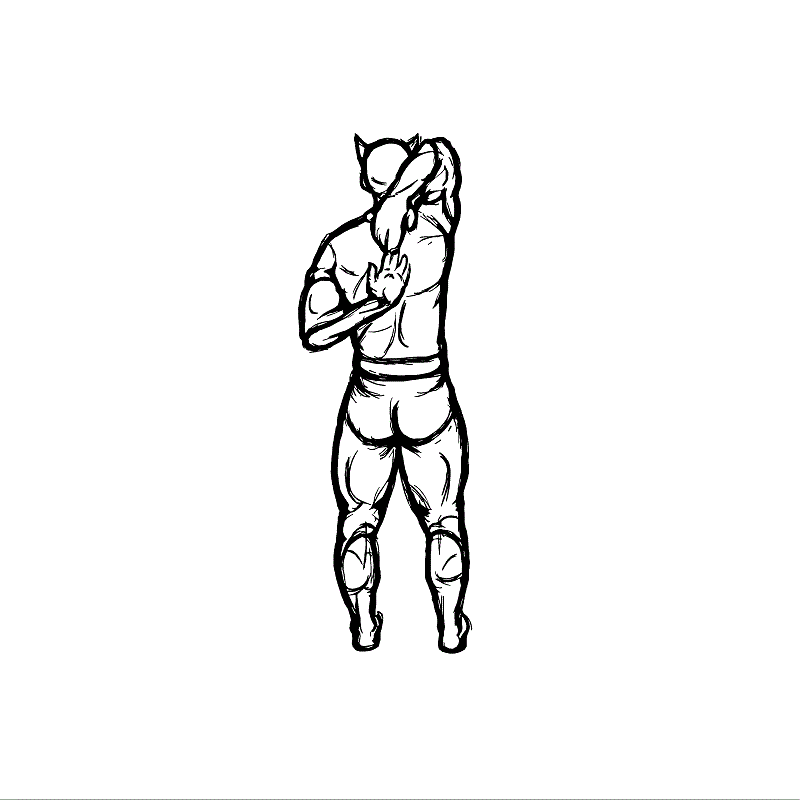
Illustration of shoulder flexibility test.

Stand and raise your left arm overhead and bend your left elbow so that your left hand points down the upper spine between the shoulder blades (hand should also be able to touch the opposite shoulder blade). Bring your right arm behind the back, and bend the right elbow so the fingers point up the spine, between the scapulae. Good flexibility of the right shoudler exist if fingertips of both hand can touch. Change sides. 

Stand and raise your left arm overhead and bend left elbow so that left hand points down the upper spine between the shoulder blades (hand should also be able to touch the opposite shoulder blade) Bring your right arm behind the back, and bend the right elbow so the fingers point up the spine, between the scapulae. 

Good flexibility of the right shoulder exist if fingertips of both hand can touch. Change sides and repeat.

Shoulder Girdle Flexibility 

Shoulder elevation 

Equipment: Hard surface; straight stick or ruler; measuring tape; partner. 

Starting Position: Assume a prone (face down) position with the arms straight, about shoulder width apart. Grasp the stick in both hands. 

Movement: While keeping the chin o the floor and arms and wrists straight, lift the stick up as high as possible. Your partner measure the distance in inches from the bottom of the stick to the floor.  Use the best score form three trails. 

Shoulder Elevation________________inches. 

Arm Length______________________inches. 

Scoring: Multiply the best measurement by 100 and divide the product by the arm length in inches. Are length is measured from the acromion process to the upper surface of the stick which is being held as the arms hang downward. 

Shoulder elevation____________ x 100 / arm length = Adjusted Shoulder Elevetion 

Score__________ 


Below Average

Average

Above Average

Outstanding

Women

76 or below

77-101

102-112

113-123

Men

78 or below

79-102

103-113

114-123


Get MORE: Personal Trainer Forms, Consent Forms, Exercise Log Sheets, Questionnaires, Charts & MORE. (Click link below)

Personal Trainer Resources


Calf Flexibility Test

Here's a test to determine your calf flexibility. Stand with your back, hips and heels against a wall. Attempt to raise (dorsiflex) the right forefoot while keeping both knees straight. Passing, or adequate flexibility, is attained if the forefoot is able to be elevated by at least one inch. Repeat with the left forefoot.

Quadriceps Flexibility Test

Here's a test you can perform to test your quadriceps flexibility. 

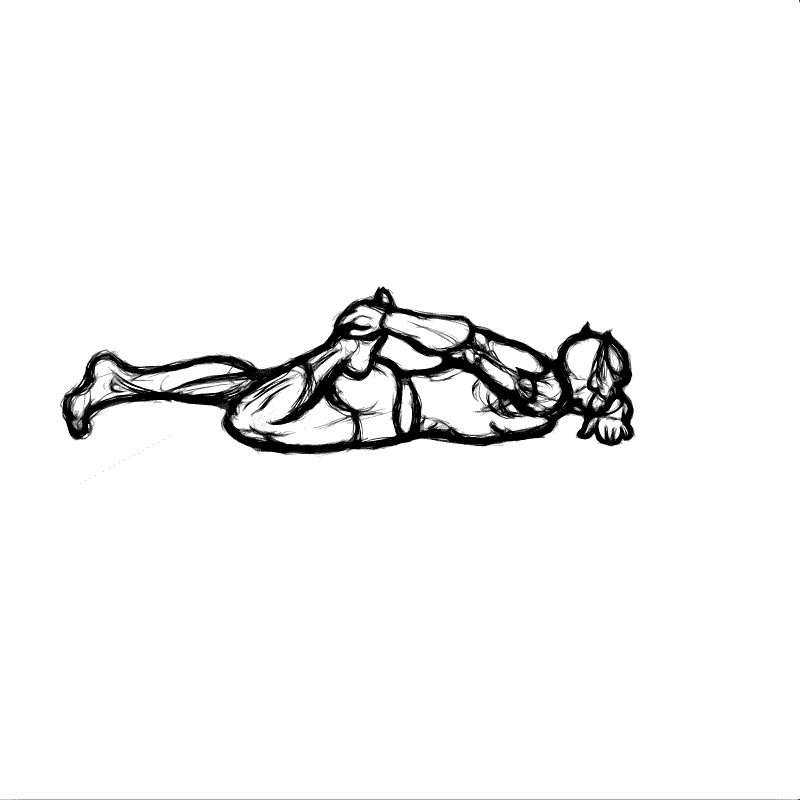
Illustration of quadriceps flexibility test.

1. Lie prone with your knees together.

2. With your right hand, gently pull right heel directly to the the middle of your right buttock. Heel should comfortably touch buttocks for passing flexibility.

3. Repeat on left side.

Hip Flexor Flexibility Test

Here's a test you may perform to test hip flexor flexibility. 

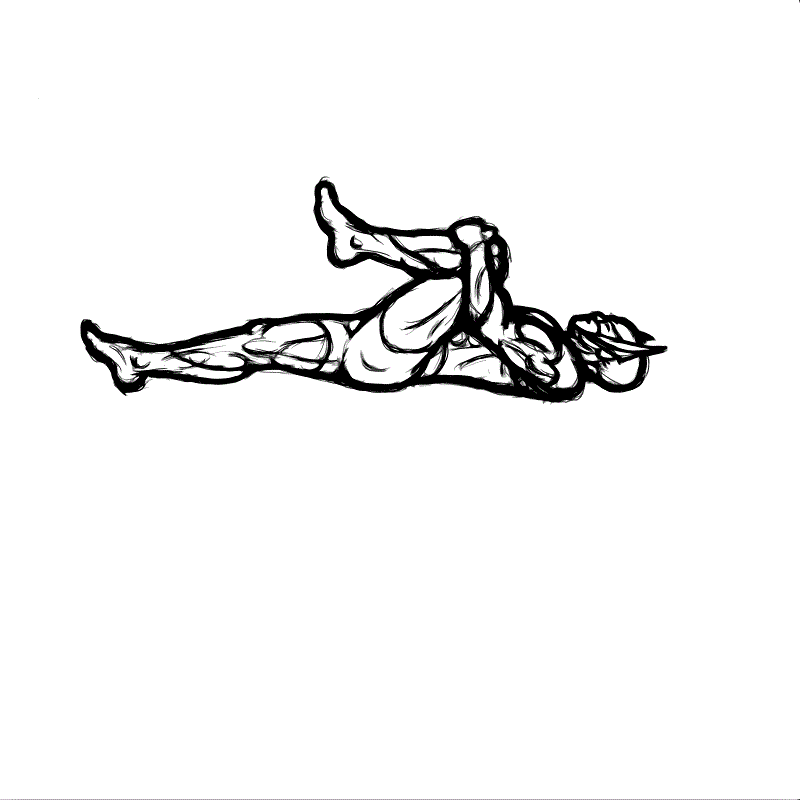
Lie supine. Clasp hands behind your right knee and pull it in to the chest as far as possible. Keeping low back pressed to floor, extend the left leg and attempt to press back of left knee to the floor. Adequate flexibility exist if the back of the knee and the low back can both be pressed to the floor simultaneously. Check both sides.

Illustration of hip flexor flexibility test


Get MORE: Personal Trainer Forms, Consent Forms, Exercise Log Sheets, Questionnaires, Charts & MORE. (Click link below)

Personal Trainer Resources


Hamstring Flexibility Test

This is a simple test you can do to test your hamstring flexibility.

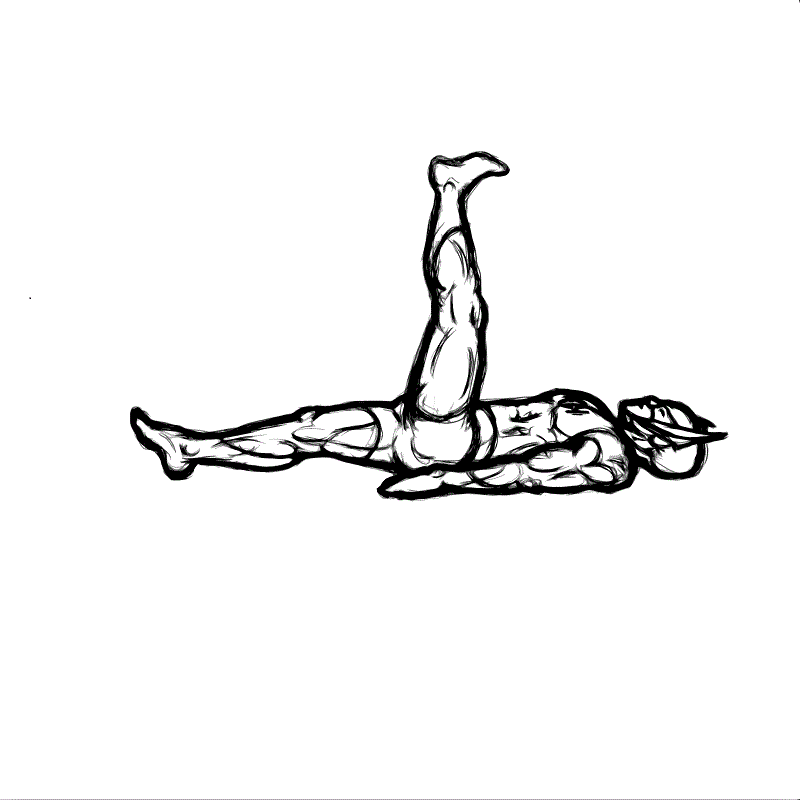
Lie supine and lift one leg straight up while keeping the other pressed flat to the floor. Passing, or adequate hamstring flexibility, is the ability to lift the leg to a 90 degree angle, or to a vertical position, with straining. Assess both legs.

illustration of hamstring flexibility test.


Get MORE: Personal Trainer Forms, Consent Forms, Exercise Log Sheets, Questionnaires, Charts & MORE. (Click link below)

Personal Trainer Resources


Trunk Extension Ability Test

This exercise will test your trunk extension ability. 

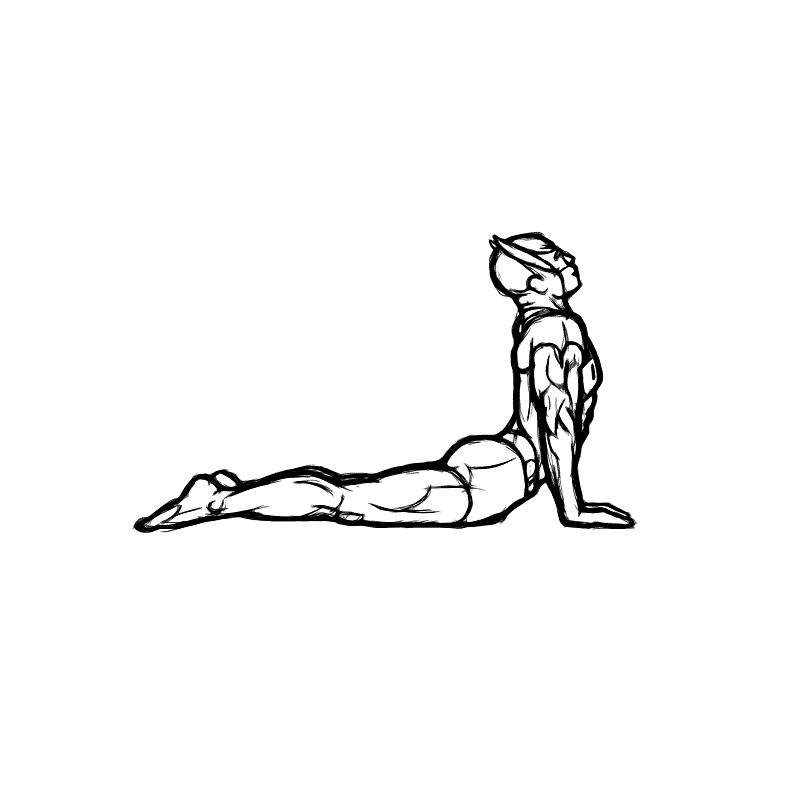
Lie prone with your hands on the the floor beneath shoulders. Attempt to push your upper body up while maintaining hip contact with floor (passing flexibility of lumbar spine is with elbows fully extended and hips on floor.) Use caution when performing this stretch: move slowly and stop immediately if there if any pain. 

Illustration of trunk extension test.

If you have lumbar instability, this increase your chances of developing low back pain. It is important that you have muscle endurance in the primary muscles groups responsible for stabilizing your lumbar spine. These muscles are: the trunk extensors (erector spinae), trunk flexors (rectus abdominis and abdominal oblique muscles) ad lateral flexors(quadrates lumborum).


Alternate ways to measure trunk extension 

To measure the isometric endurance of the trunk extensors, lie prone with the lower body secured (use straps) to the test bed at the ankles, knees, and hips and with the upper body extended over the edge of the bed. The bed should be approximately 25 cm (10 in ) above the surface of the floor. During the test, the client holds the upper arms across the chest, with the hand resting on the opposite shoulders. Instruct your client to assume and maintain a horizontal position above the floor for as long as possible. Use a stop watch to record in seconds the time from which the client assumes the horizontal position until the time at which the upper body contacts the floor. 

Below is a healthy time for male and female clients 

A good endurance time (sec) for men is 146 and 189 for women 

Lumbar stability test 

Trunk flexion 

To measure the isometric endurance of the trunk flexors, have your client sit on a test bench with a moveable back support set at a 60 degree angle. The client flexes the knees and hips to 90 degrees and folds the arms across the chest. Use toe straps to secure the client’s feet to the test bench. Instruct your client to maintain this position for as long as possible after you lower remove the back support. End the test when the client’s trunk falls below the 60 degree angle. Use a stopwatch to record in seconds the elapsed time. 

Lateral flexors 

To measure the isometric endurance of the lateral flexors, use the side bridge. Ask your client to assume a side-lying position on a mat with his legs extended. Place the top foot in front of the lower foot for support Instruct your client to lift his hips off the mat while supporting his body in a straight line on one elbow and the feet for as long as possible. He should hold the uninvolved arm across the chest. End the test when his hips return to the mat. Use a stopwatch to record in seconds the elapsed time. Administer this test for both the right and left sides of the body. 


Get MORE: Personal Trainer Forms, Consent Forms, Exercise Log Sheets, Questionnaires, Charts & MORE. (Click link below)

Personal Trainer Resources


How to conduct the sit and reach test

     The YMCA Sit and Reach Test is the most widely used assessment performance procedure. Every trainer or fitness professional should learn how to conduct this test. 


     Tools needed to perform this test properly


a. Sit and Reach Box 

b. Tape Measure or Yard Stick if you want a cheaper way to administer this test


     The Sit and Reach test measures the flexibility of the hamstring, erector spinae muscles, calf, and upper back muscles. Because of the minimum equipment needed, this test is easy to administer.

There may be a slight chance of injury performing this assessment due to the body positioning. Its best to allow a professional fitness expert to teach you how to administer this test before testing on a client. 

Here are the steps:

1. After explaining the purpose of the test to your client, have him/her actively warm up (if Client performing sit and reach test.he/she is not already warmed up) and perform some static stretching, particularly of the hamstrings, low back and calf muscles.
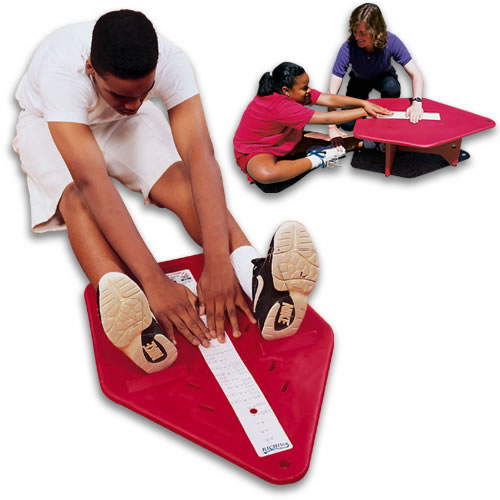
2. Instruct your client to remove his/her shoes and sit on the floor with knees straight (pressed to the floor), and feet approximately 12 inches apart.

The heels should be in contact with the sit and reach box with the ankles dorsiflexed. If no sit and reach box is available, a tape measure or yardstick may be used.

The heels should be aligned at the 15-inch mark on the tape, with the zero end toward the body (the yardstick or tape can be secured to the floor with masking tape placed at a right angle to the 15-inch mark).

3. Have your client place his/her hands on top of each other with fingers aligned, and slowly exhale, stretch out, and touch the box, tape, or yardstick without bouncing. Allow your client to relax and then perform two more trials. (total of three).

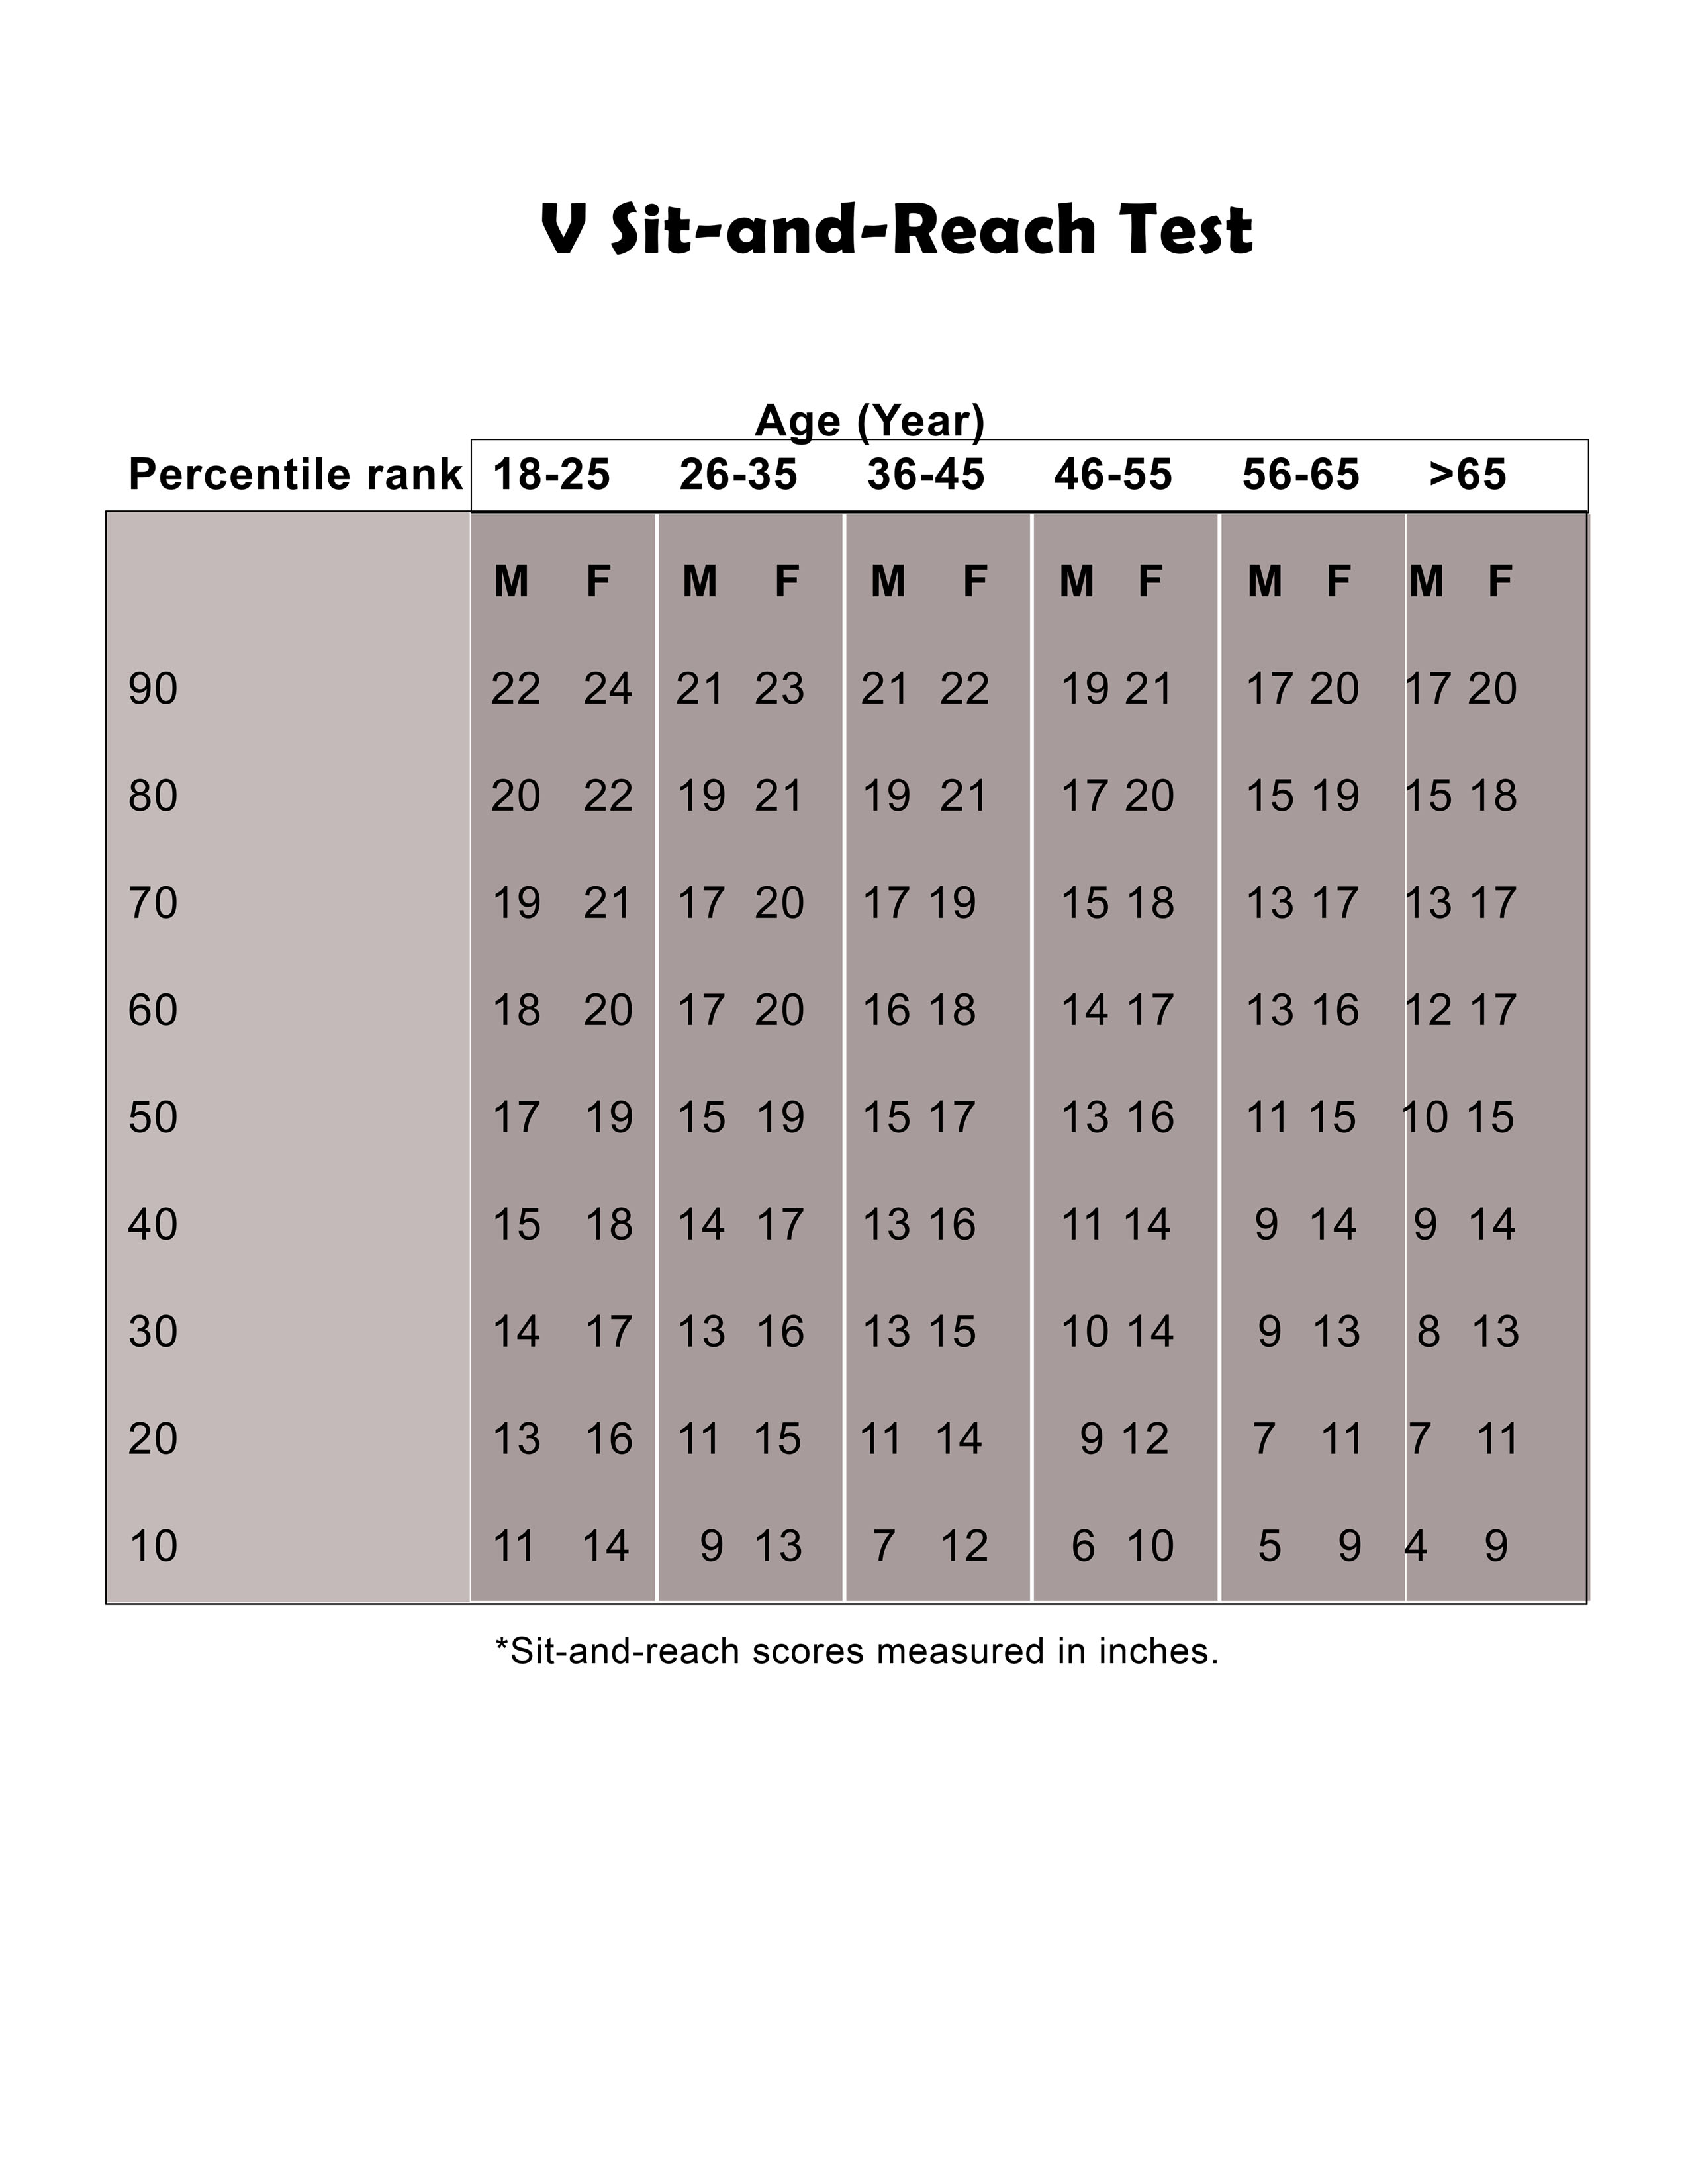
4. Your client's score is the best of the three trials and may be compared to the norms for his/her age and sex listed in this chart.

Printable V sit and reach norms chart for men and women.

Download V Sit and Reach Test Norms Medium (17" by 11") 


Sit and Reach Norms


Below Average

Average

Above Average

Outstanding

Women

28cm or less

29-34 cm

35-38cm

39cm or more

Men

29cm or less

30-34 cm

35-39 cm

40cm or more


SIT AND REACH FLEXIBILITY TEST

Sit and Reach Flexibility Test